Build a form
Forms provide the framework for the structured transcription in DataScribe. When building forms for your datasets, take some time to look at your historical sources and think about how you want to organize your forms. With some sources, it might be worth creating multiple forms to capture distinct subsets of data on the same page.
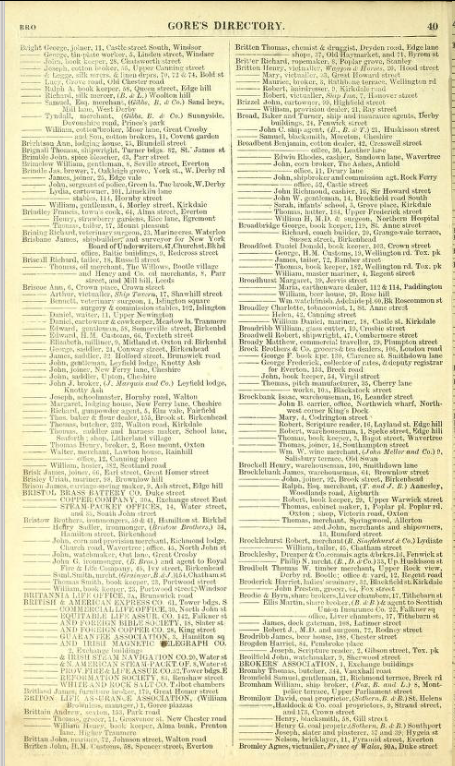
This tutorial will walk you through the process of planning and creating a form from a historical source with structured data. The tutorial uses Gore’s Liverpool Directory for 1860 as its example, but you should be able to substitute your own sources if you wish.
Step one: Assess the source
Before you start creating your form in DataScribe, look through the source and ask these questions:
- What information do I need to capture for the analyses I want to do?
- What outputs will be most helpful for that analysis?
Go through the original source. Write down all of the possible data points on the page. Then decide which ones are relevant to your questions and therefore need to be included on your form(s).
In this page from the Directory, there are at least 11 potential data points: page number, last name, first name, listing type (person, business, etc), description, street number, street name, other address information, second address street number, second address street name, other information for second address. How you organize these is up to you and can be guided by your research questions.
Step two: match data points and form fields
You will be building your form in DataScribe which has a defined set of options for fields.
| Field | Input type | Options |
|---|---|---|
| Checkbox | Checkbox | Set box checked by default |
| Date | Select year, month, and day in a series of dropdown menus | Set minimum and maximum year. Set default year, month, and/or day |
| DateTime | Select year, month, day, hour, minute and second from a series of dropdown menus | Set minimum and maximum year. Set default year, month, day, hour, minute, and/or second |
| Number | Numbers only. Decimals permitted with a point but not a comma. | Set minimum and maximum value. |
| Radio | Click a radio button | Enter options for the radio button by entering each one on a new line |
| Select | Select from a dropdown menu | Enter options for the select button by entering each one on a new line |
| Text | Single line text entry | Set a minimum or maximum length |
| Textarea | Large text area | Set the number of rows for the field’s height |
| Time | Select hour, minute and second from a series of dropdown menus | Set default hour, minute, and/or second |
In addition, you can set any field as required. If a transcriber leaves a required field blank, Datascribe flags that record as invalid.
One field must be designated as the primary field which acts as the identifier for the record.
Use the worksheet or your own document to decide what fields you want to use for when building your form or forms. Bear in mind that you may end up needing to create multiple forms to best capture data from a source.
Download full worksheet (PDF) or the only blank form table.
One form for the example page could be as follows:
| Data in source | Field type | Optional settings | Notes |
|---|---|---|---|
| “Name (R, P)” | Text | Separate into first and last? Or one field for both? | |
| Listing type | Select or radio | Individual, business, organization, etc | |
| Descriptor | Textarea | Indicate to write as given in the directory, so “insurance agents” or “jun. tobacconist” | |
| Street number | Number | If given | |
| Street name | Text | Can concatenate with number in export | |
| Area | Text or select | Is this standardized enough to make a select field? |
Note: Required fields marked with R. Primary fields marked with P.
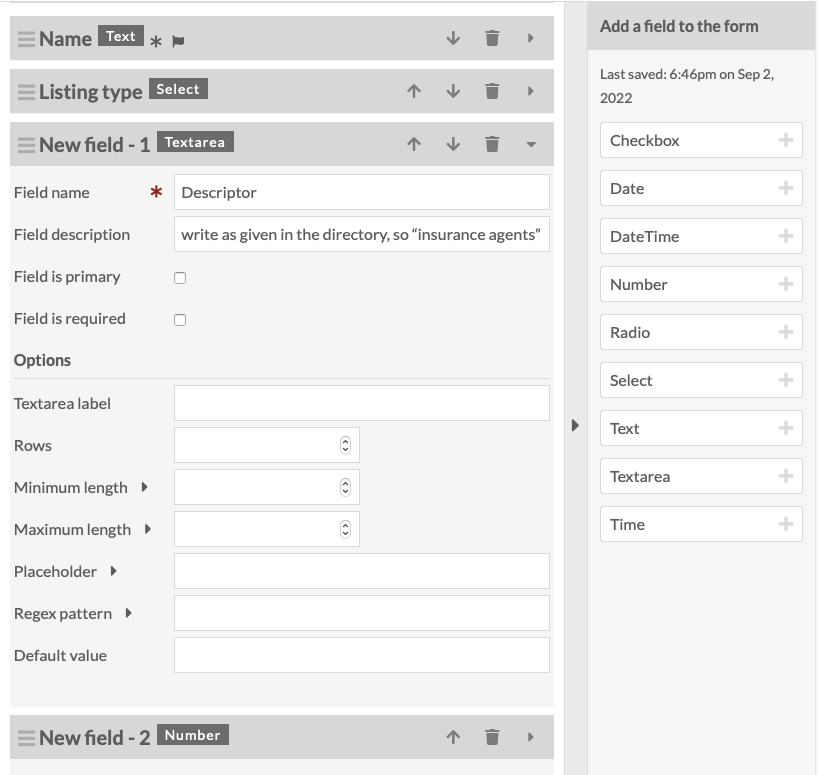
Step three: build a form using your plan
You can build a form for your dataset when adding or editing the dataset. On the form builder tab, use the plan you wrote as a guide for adding field blocks to the form.
This image shows the form outlined above in the process of being created. The user has saved the form at least once, which is why the Name and Listing type fields have the right right label instead of just New field. The block for descriptor is open to show the guidance which has been added to the field description, as suggested in the notes above.