Build a project
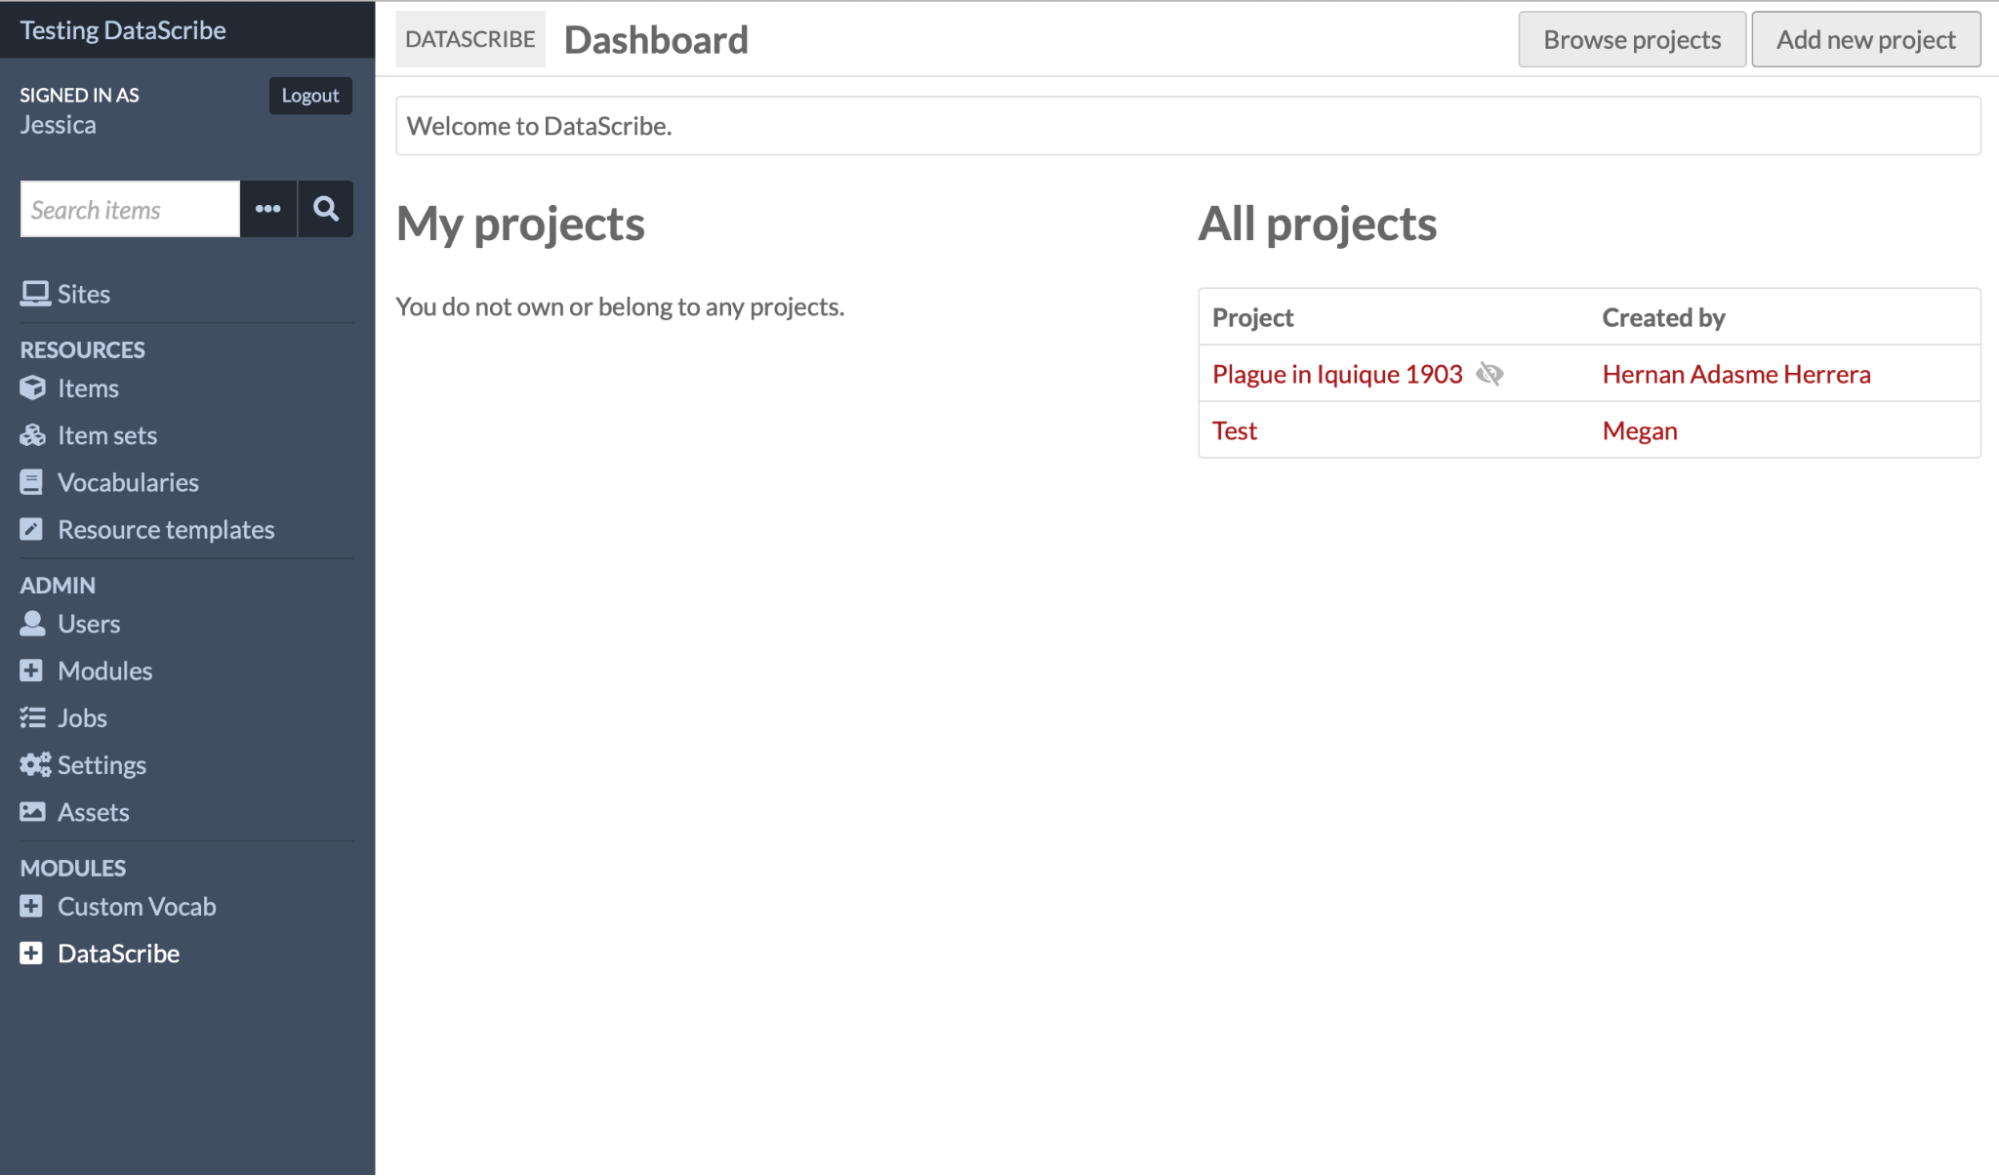
The first step for working in DataScribe is to create a new project. When you log into a shared install and land on the DataScribe dashboard, you may see all the projects that other users have created in DataScribe if your permission level is high enough. However, the “My projects” section of the dashboard will be empty. There is a button in the upper right hand corner that will allow you to “Add new project.”
To add a new project, you must make several initial decisions. All projects are required to have a name, which you set up in the “Configuration” tab (and can edit later). You may also optionally give your project a description, which is helpful when you have multiple projects in a single shared Omeka S / DataScribe installation. Lastly, you must decide whether your project is going to be public (visible to other people on the installation) or private. There is a crossed eye icon next to the “Add” and “Cancel” buttons - clicking it will allow you to toggle private mode off and on again. The default mode is private.
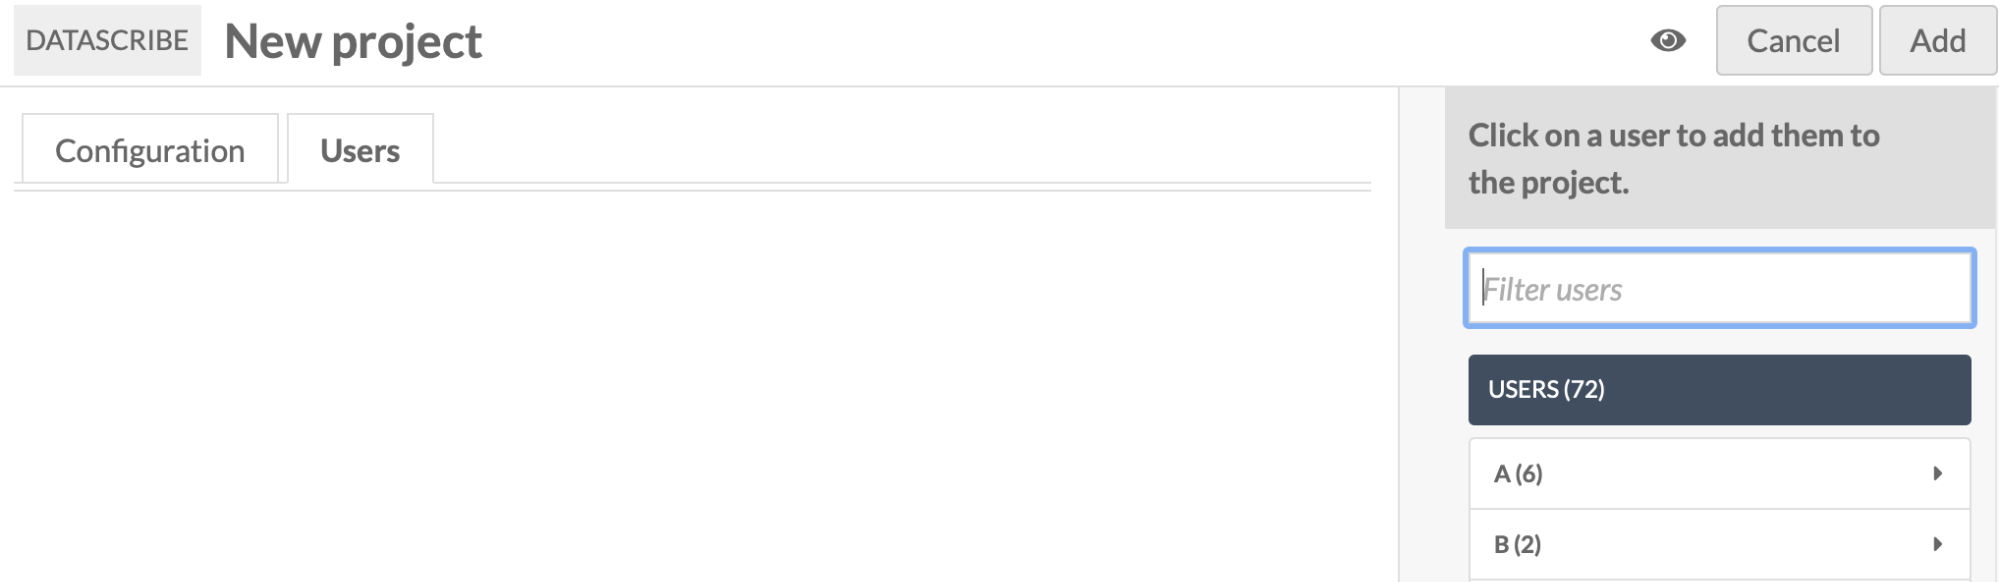
Next you need to add users to a project. If you are both creating the project and working on the project, this step will include adding yourself as a user, even if there is no one else working on the project with you. Despite being project owner, you are not automatically made a user on the project. This means that projects may be set up by people who are managing the Omeka S install but are not necessarily part of individual project teams.
On the right hand side of the screen will be a menu that displays all the users in the Omeka S installation. You can either use the alphabet menu items (expandable by clicking the triangle) to browse and find users or you can use the “Filter users” field to search for users by name. Once you find a user you want to add, you click on their name to add them to the project.

Once you’ve added a user to the project, you need to set their project role. All users are automatically started as Transcriber and there is a dropdown menu that can be used to change their project role to Reviewer if necessary.
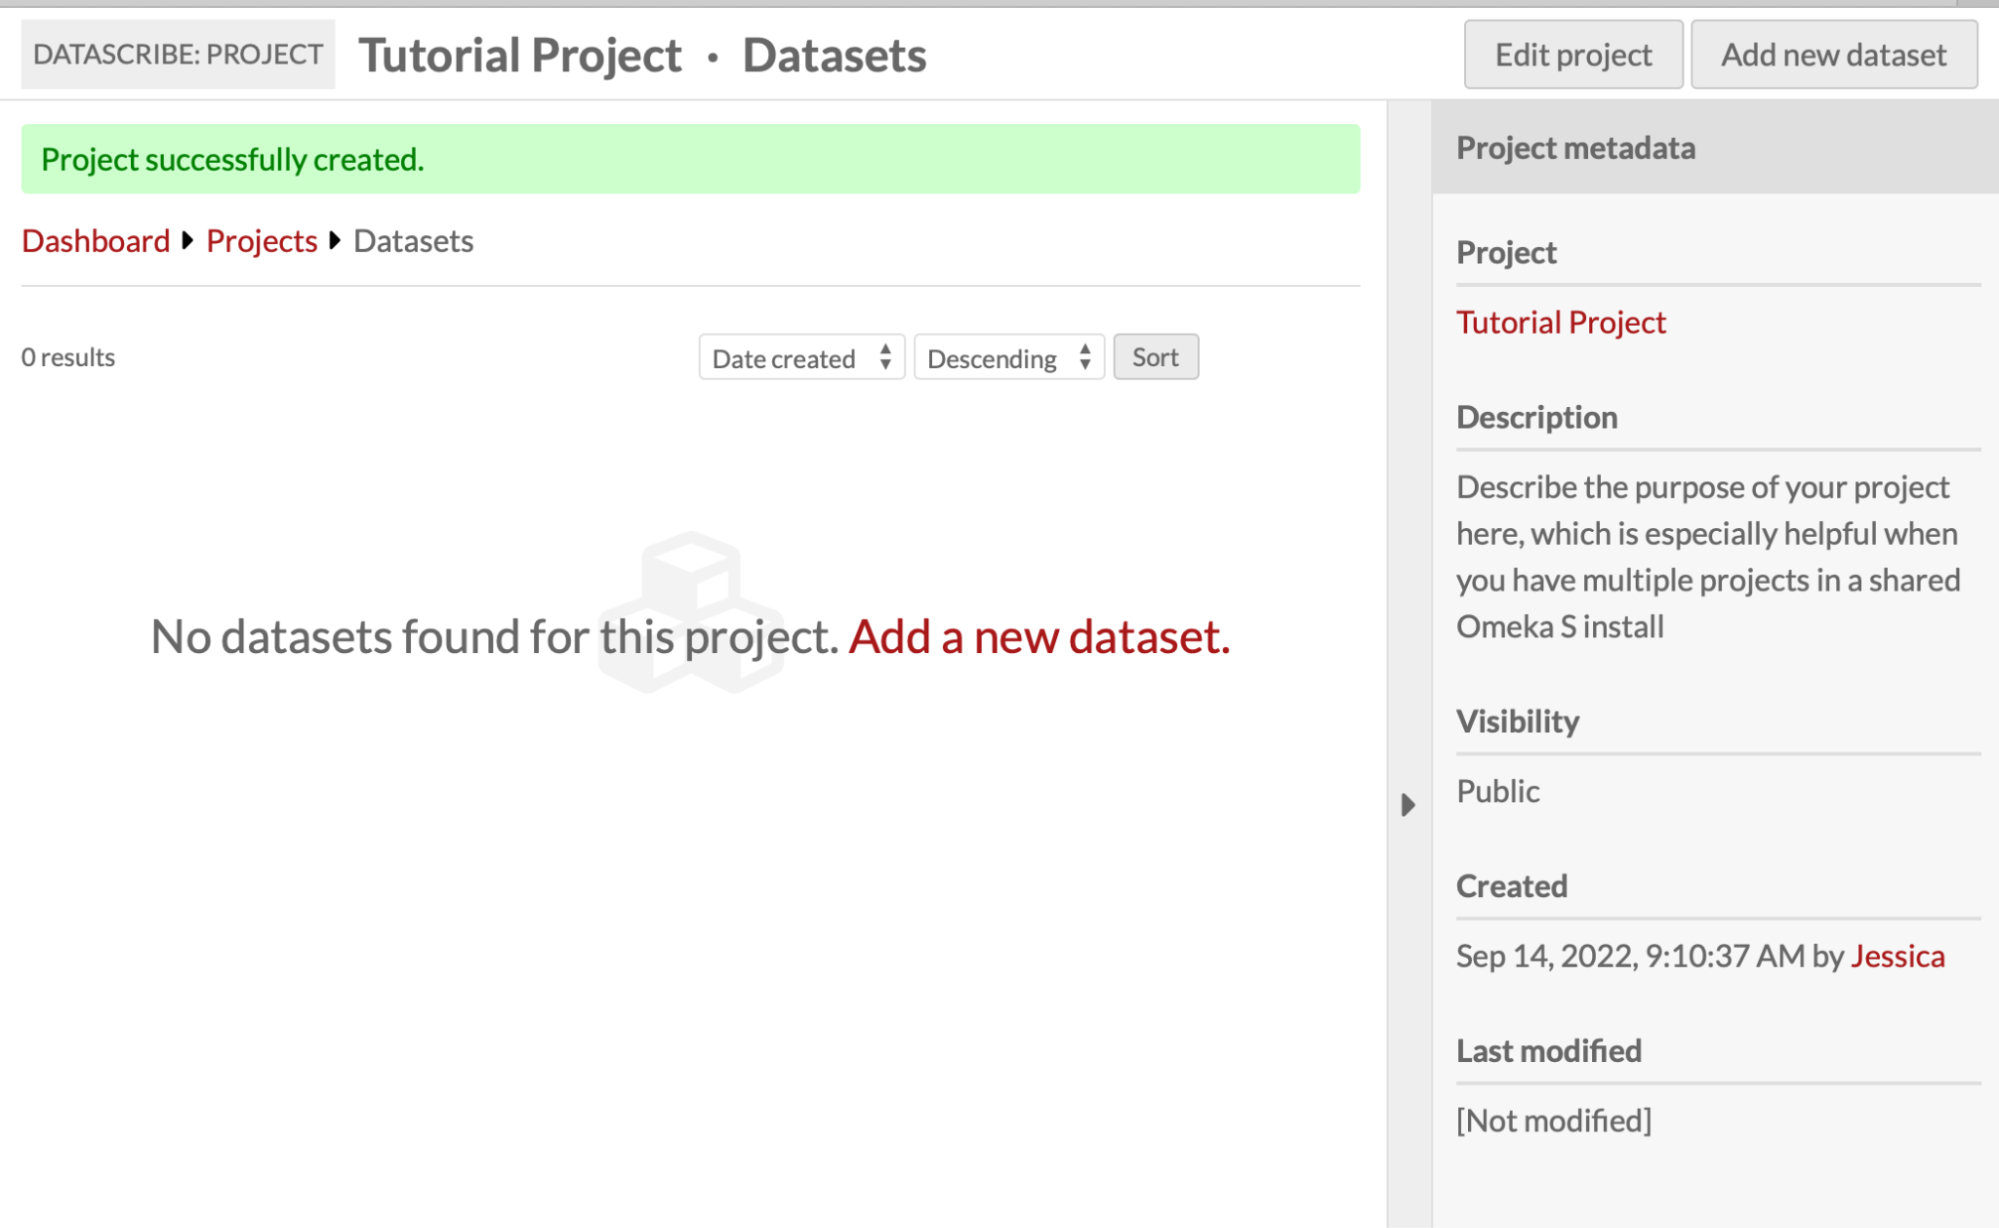
Lastly, you complete the process of adding a project by clicking the “Add” button in the upper right hand corner. This adds the project to DataScribe and will redirect you to the new project dashboard.
You will see a green banner across the top of your screen letting you know that the project was successfully created. From here you can use the “Edit project” button in the top right hand corner to go back and change any of the project details you initially set up or to add additional users. Alternatively, you can move to the next stage of project building and add a new dataset.